The first step in making a quilt cover is to cut the sheet. Use a straight-cut, leaving a 6-inch seam allowance. Next, measure and add 2 inches to allow for the overlap of the button band. Pin the edges of the sheet together, leaving about an inch of the top and bottom open. Repeat the process with the back section. When the quilt is finished, you should have a finished quilt cover.
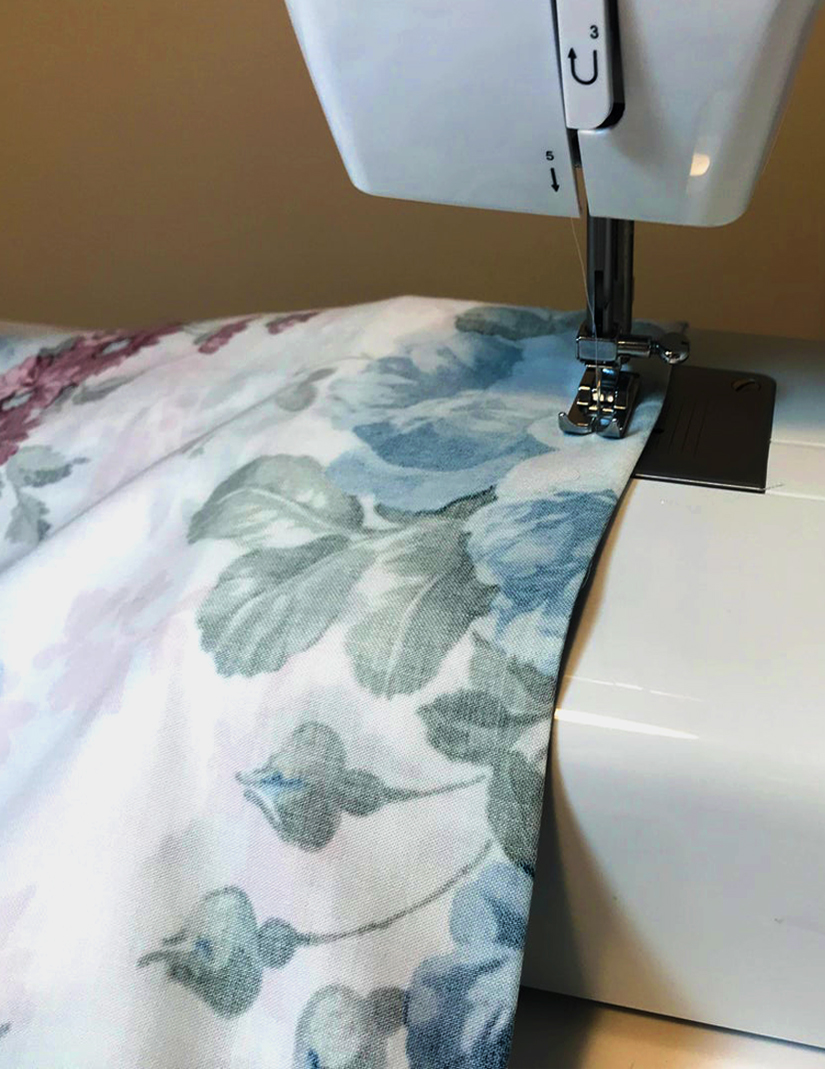
After you’ve gathered your tools, you can begin cutting and sewing. Sewing is the most time-consuming part, but once you’ve got your materials and a fabric pattern, the process of making a quilt cover is simple and fun. Once you’ve gathered all of your supplies, it’s time to start sewing. Using a straight stitch and a straight edge, sew patches one by one. When you’re done, use a needle and thread to attach the pieces.
Manufacture quilt cover:
When deciding on the fabric, try to select soft cotton or a cotton blend. Flannel is a good choice and comes in beautiful colors. You can use flannel if you’d like to avoid the high price tag. Using two sheets will save you time and money. Don’t forget to wash your fabrics before using them to make a quilt cover. Once you’ve finished the quilt cover, you can start decorating.
Converting a duvet to a quilt cover is simple, and it’s a great way to build your confidence in sewing. However, if you’ve never tried making a quilt before, it might take you a while and you’ll end up with a project that’s not as nice as you had hoped. In addition, there’s no sizing flexibility with duvet covers, so it’s better to get started with a simple project, like a quilt cover.
If you’re going to make a quilt cover out of a flat sheet, you’ll need to cut it to the right size. If you’re making a duvet that is too large to fit in a standard duvet, you can cut it to fit the width of your duvet. Alternatively, you can use two different pieces of fabric. The center panel should be patterned, and the sides should be solid.
After you’ve cut the side panels, you can assemble the duvet cover by sewn-up. To do this, you need to iron the fabric pieces and set them aside. After the fabric is ironed, place the strips of fabric in the center and pin them together. Ensure the panels are lined up correctly by matching the seams on both sides. This step will create the quilt cover with the desired shape.
Instructions
You can also make a duvet cover by sewing the front and back pieces together. The front and back pieces should be right sides up. When you’re finished, place the snaps in the right positions. You can now sew the two pieces together by overlapping them. Then, use a zipper foot to sew the tape down. Then, sew the edges of the front and back pieces. After sewing them, fold them in half and use a French seam to enclose the raw edges.
After the sewing is completed, you should turn the duvet cover and iron it. You need to cut the center panel at 91 inches long and two panels that are 17 inches wide. And cut the straight side panels by folding the selvage edge towards the center. Then, cut the fabric along the folded edge. And fold the edges of the duvet so that they fit perfectly. When you are finished with the sewing, the duvet cover will look like a finished quilt.
To complete the duvet cover, lay the fabric in the desired design. Sew the right sides together with a 1/2 inch seam allowance. Once you’ve finished sewing the bottom, add a hem or pocket on the left side of the quilt cover to finish the job. Afterward, you should stitch the sides of the quilt cover and the bottom to the duvet. It’s not necessary to use a zipper, as you can use a plain sheet as the bottom layer.
Leave a Comment
Your email address will not be published. Required fields are marked *